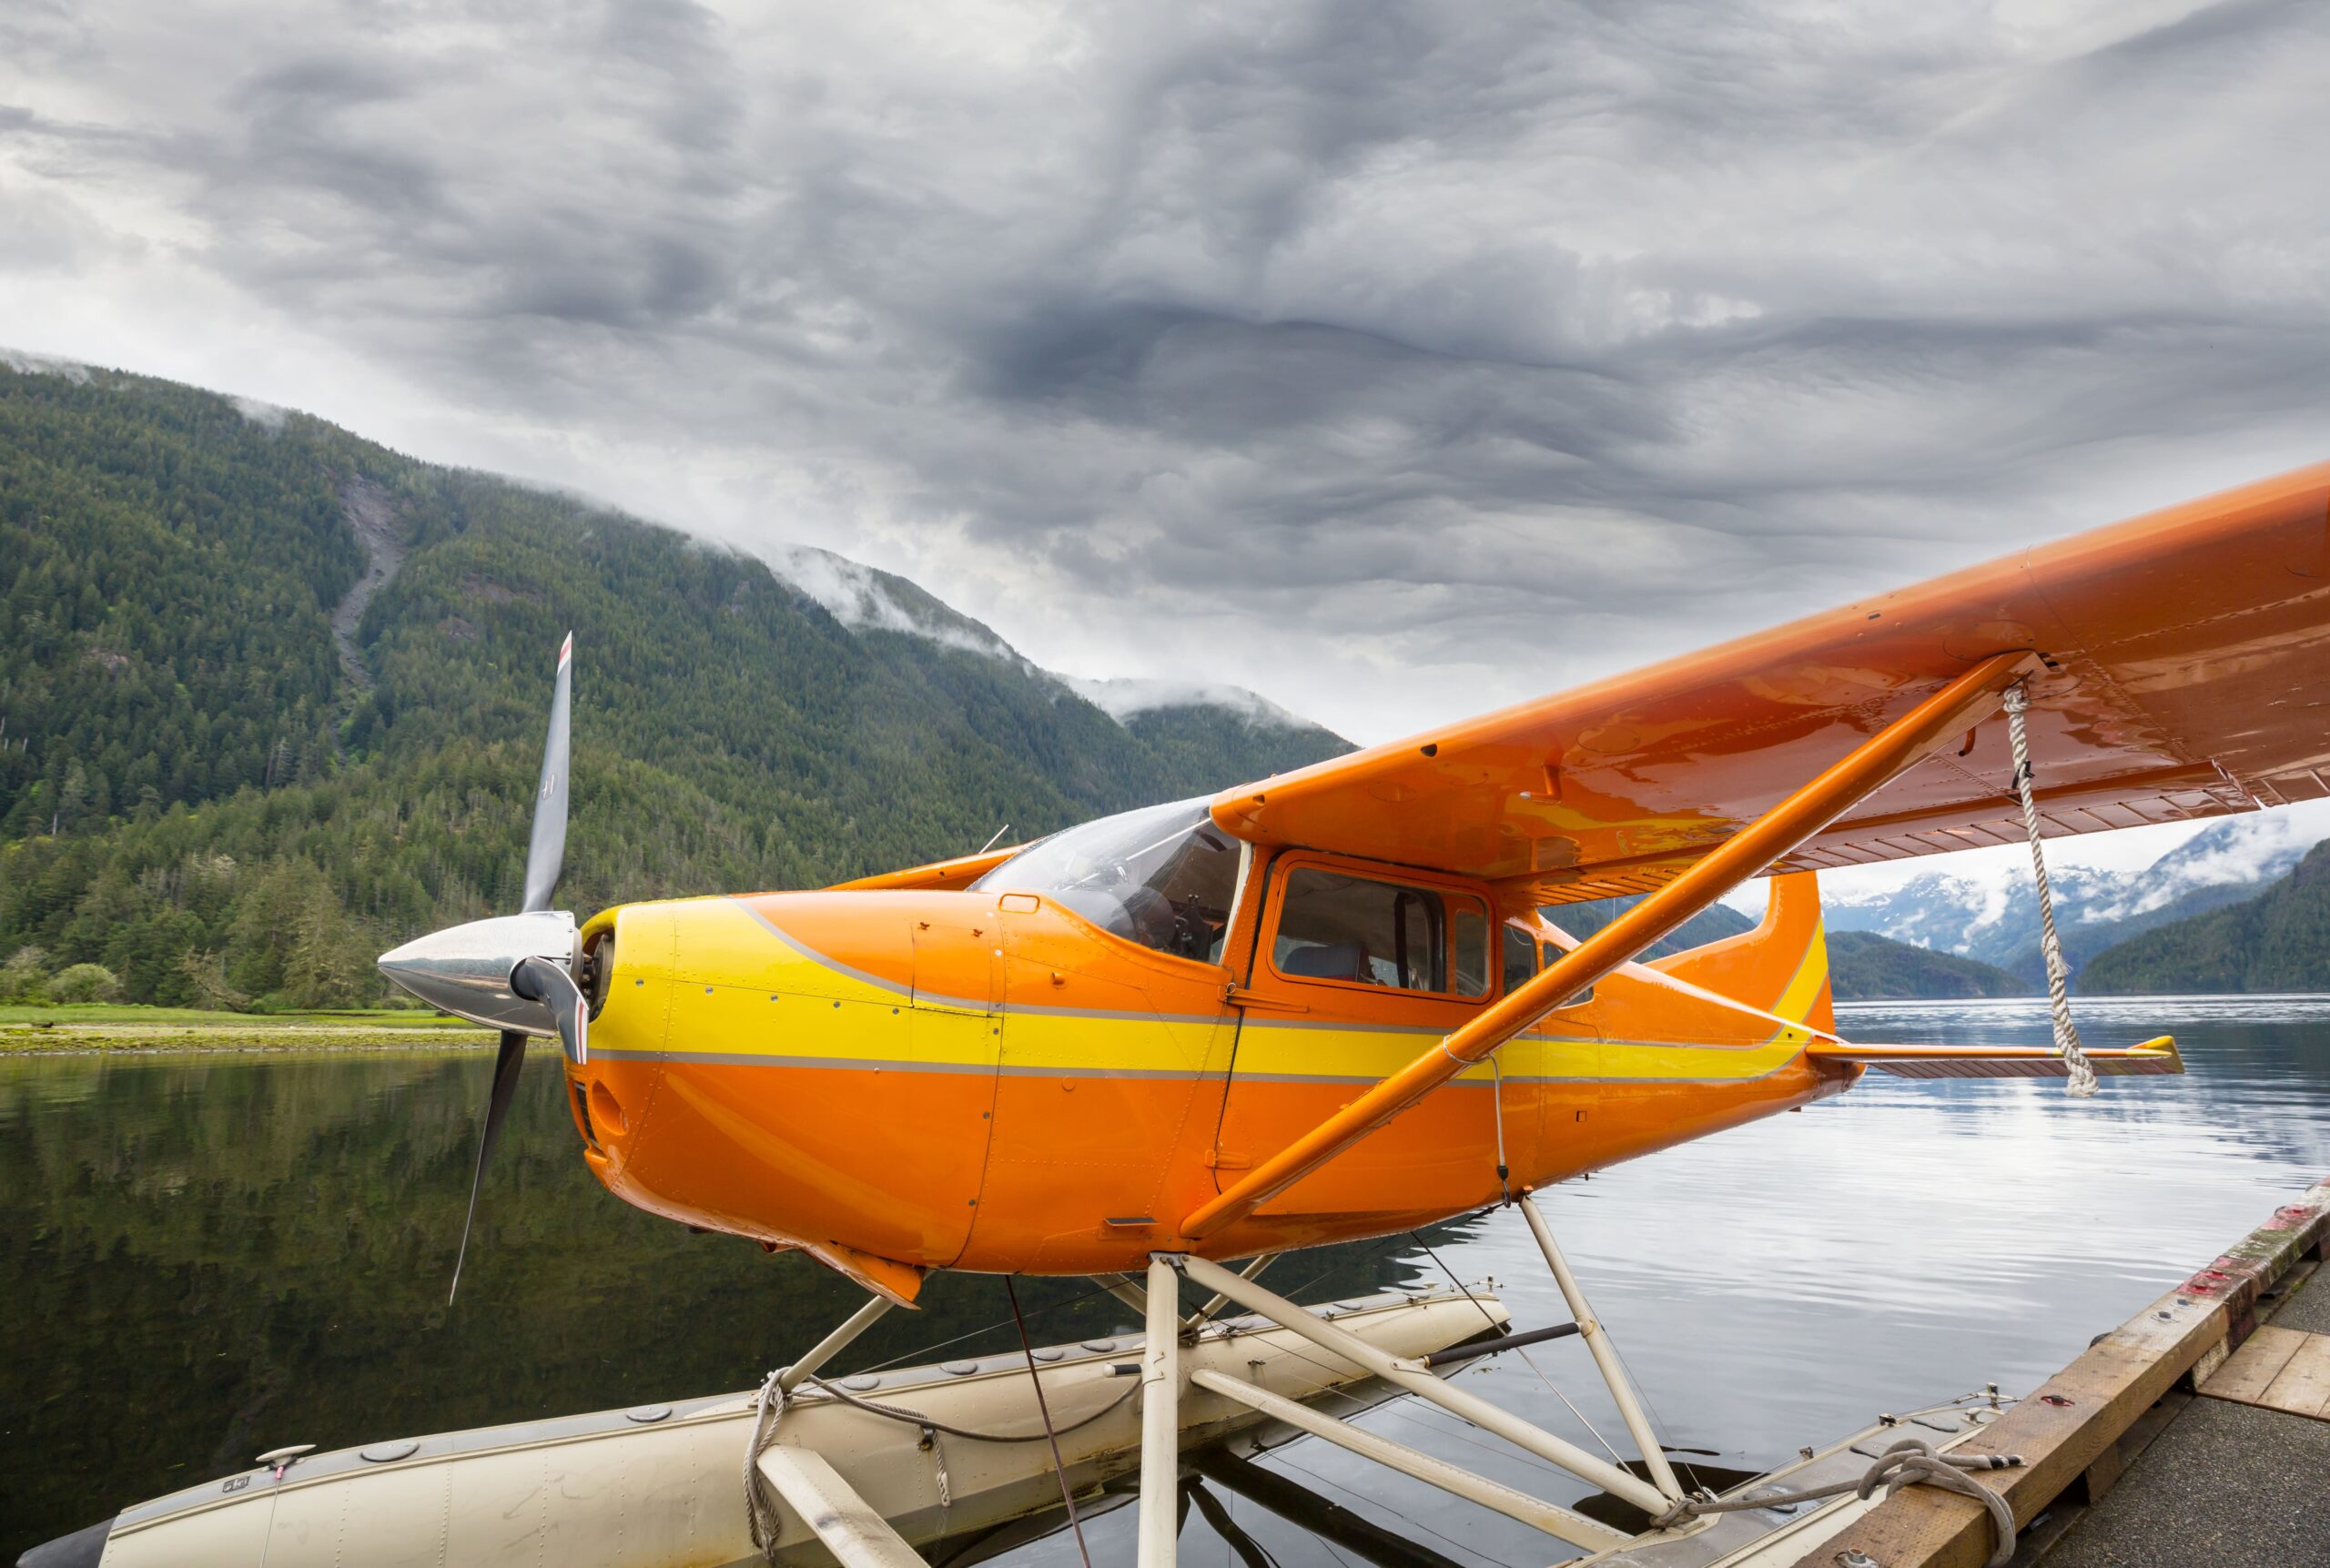
When listing your aircraft for sale online, presentation is key.
Great photos will make for the best possible result. We’ve created this reference guide to help you properly present your vehicle and take excellent photos yourself. Great photos can be taken with a professional camera or a mobile phone—so long as you heed this advice, you will do just fine.
mobile pdf guide | mobile pdf shot list
Aircraft Image Examples
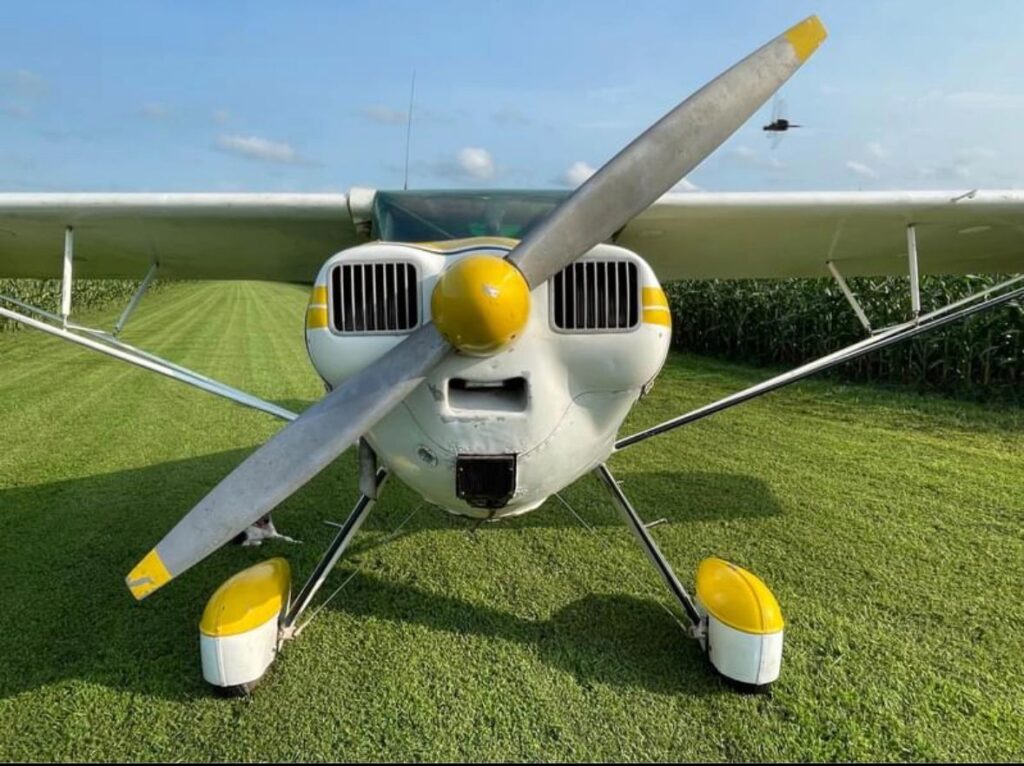
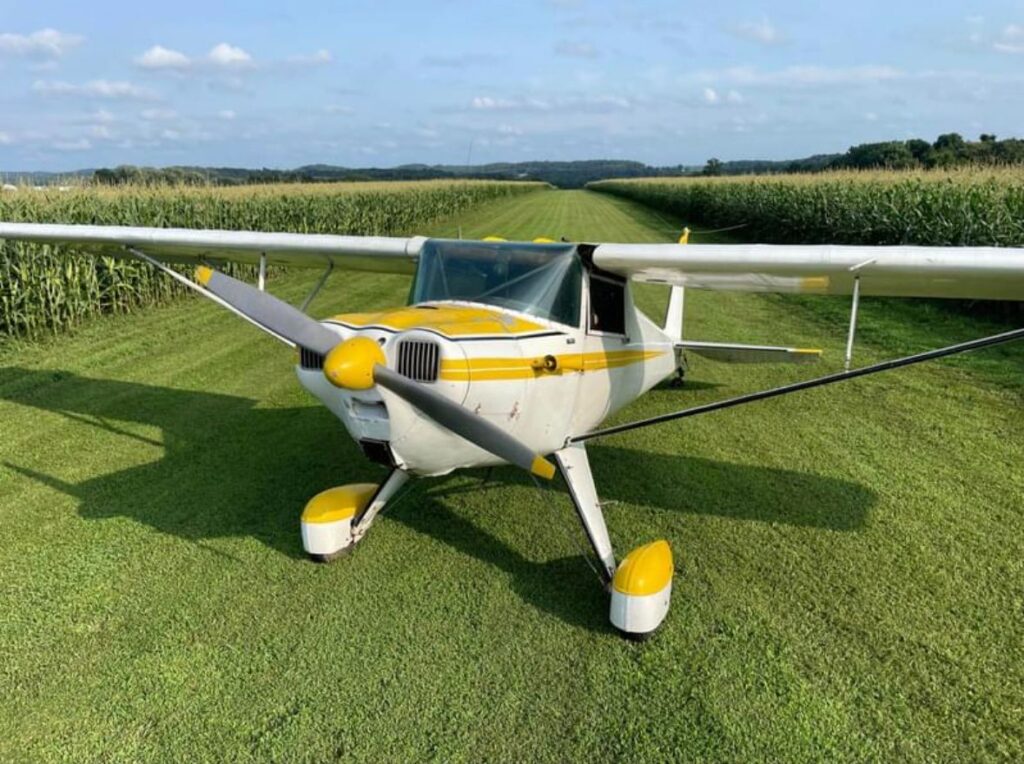


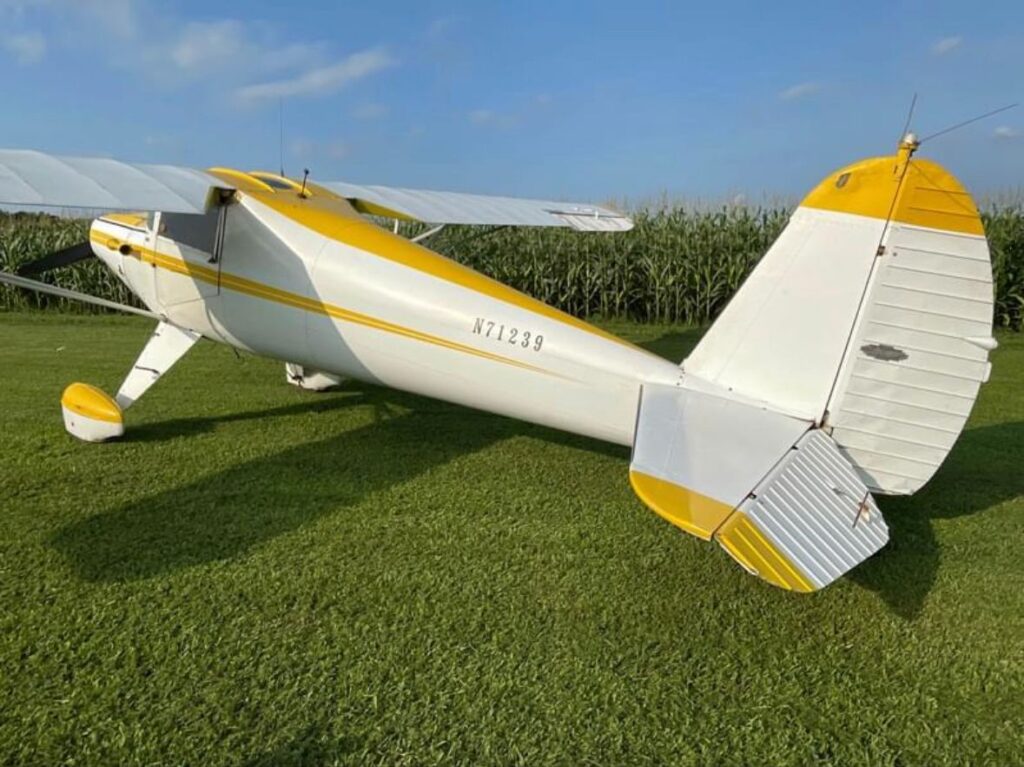


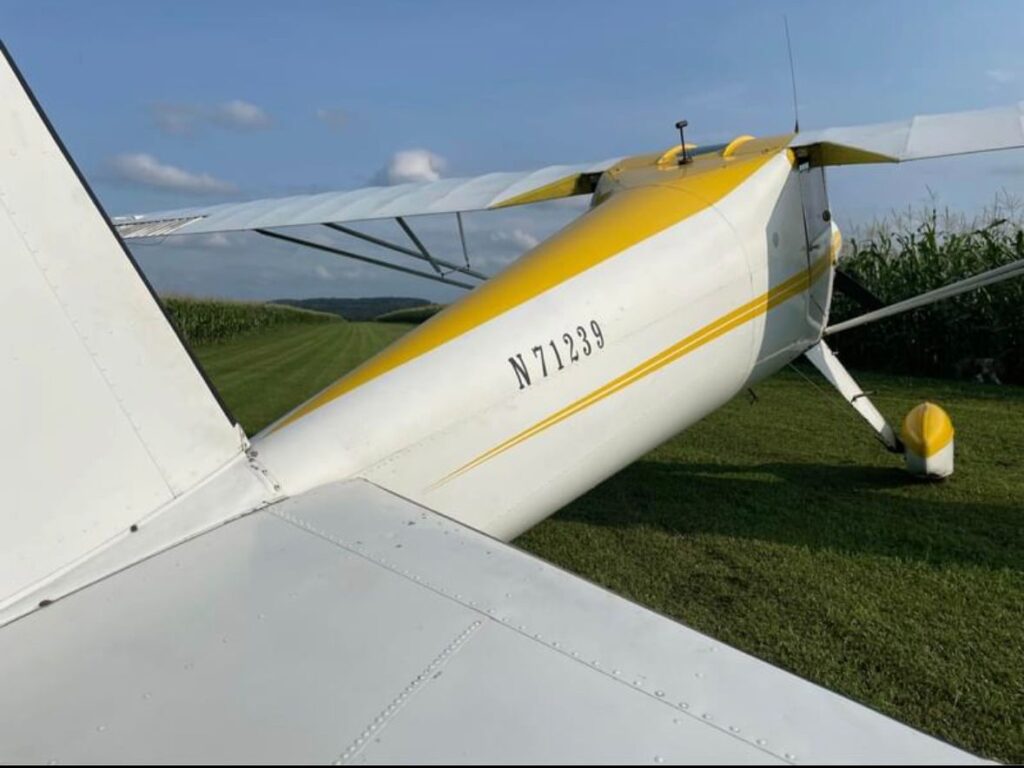


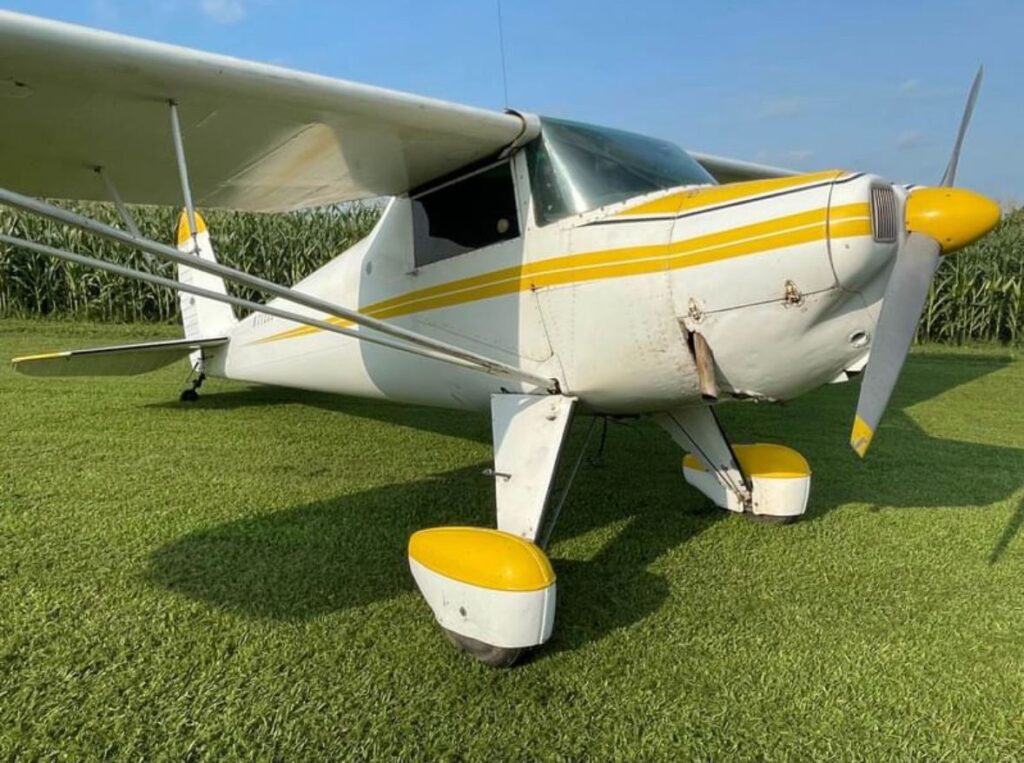

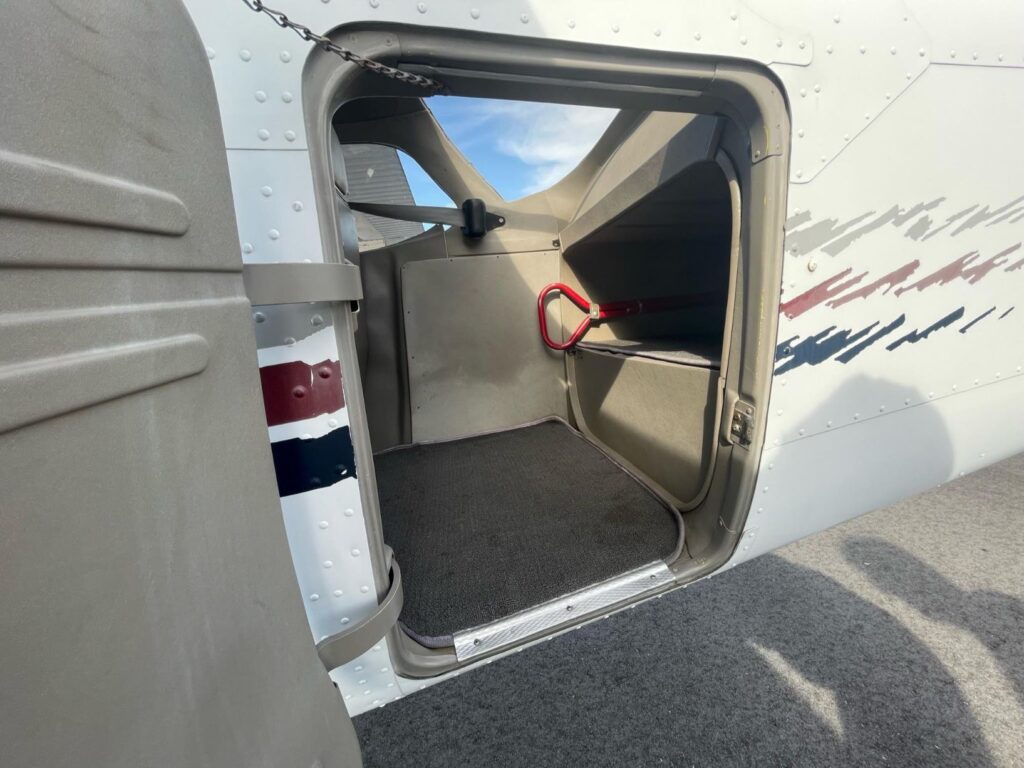


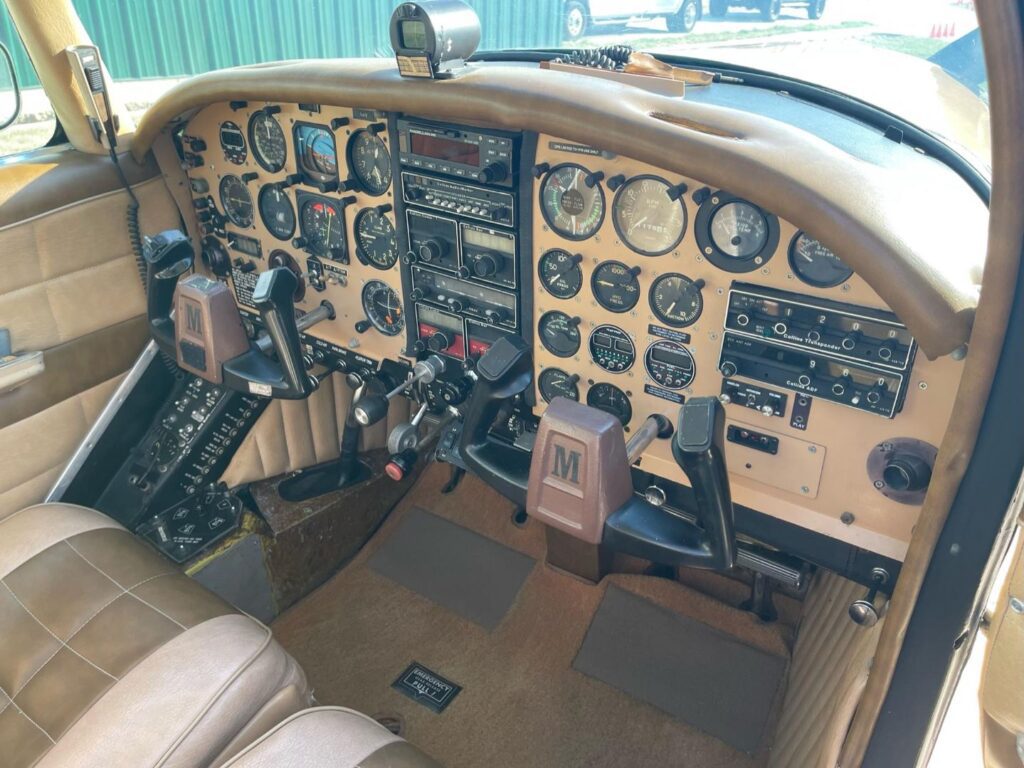


The gallery above demonstrates great framing, lighting, angles, and background choice. Note how the vehicle is repositioned for different angles, while the camera and background remain consistent.
1. Start with a clean aircraft
Wash and dry the exterior, clean and vacuum the interior. Remove everything from the interior that is not going with the aircraft. The aircraft doesn’t have to be professionally detailed, but it should be as clean as possible when preparing your aircraft for sale.
2. Get ready to shoot outside
aircraft look better when they are photographed outside. Unless the weather is inclement and the aircraft cannot be taken outside, it’s best to move the vehicle outside.
3. Use the right light
When preparing your aircraft for sale shoot in open shade, when it is overcast, or in late afternoon sunlight if at all possible. If shooting in the middle of the day, try to find some shade.
4. Pick a simple location
Find a quiet, uncluttered location. Runup area where any objects are far away, in front of closed hangar doors are good options. Eliminate visual distractions. Keep the background uniform.
Before you press the button, take a look around all four corners of the viewfinder—is another aircraft, spare parts or car jutting out of the aircraft? If so, change your view or location to eliminate those visual distractions.
5. Shoot the exterior
Always have your camera or phone in landscape or horizontal orientation for all photos. Position the aircraft against an uncluttered background (as in Step 4) ideally with the sun or light behind you.
Start by photographing the pilots side. Include the entire aircraft, leaving some space for cropping on all sides. Bend your knees—the pilots side COG should be in the center of the frame, left to right and about one-third of the way up from the bottom. Walk around the aircraft photographing every 15 degrees in a full circle keeping the aircraft at an equal distance, and moving the aircraft if necessary to avoid sun flares.
It’s best to move the aircraft to capture different angles. The photographer should stay fairly stationary, capturing different angles of the vehicle under the same light.
6. Shoot the interior
Always have your camera or phone in landscape or horizontal orientation for all photos. Begin with a comprehensive overview. Open the door and photograph as much of the interior as you can fit; cockpit to aft storage—show it all.
Then, focus on the details; panel overall and panel details, pedals, inside doors, aft facing from windshield, seat overall and details. Glass can be highly reflective, so vary your angle of view to reduce reflections.
Photograph the interior from both the left seat and right seat sides. In preparing aircraft for sale remember to shoot the headliner, floors/carpets, door, glass and all the details. Reference the shot checklist list provided at the end of this guide.
7. Shoot the engine
Always have your camera or phone in landscape or horizontal orientation for all photos. Open up the engine cowling of the aircraft and make sure it is free from leaves, debris and junk that will distract from the subject.
Remove the cowling and photograph the entire engine bay from from each side, making sure to get as much of the engine bay in the shot as possible. Move in closer and start taking photos of components. carburators, ignition, valve cover, belts, etc. Move-in even closer and take photos of small details like engine stamps, markings, and other details that a potential bidder might want to see.
8. Shoot the underside
Always have your camera or phone in landscape or horizontal orientation for all photos. For underside photos, clean grease and grime off of the belly.
Work from front to back and take as many detailed photos of the underside as you can. Photograph under the gear, propeller, fuel sump, pitot, wheel pants, wheels, tires, brakes, data plates, and make sure to capture any rust or other damage.
9. Show it all; the good, the bad, and the ugly
Don’t hide or “photoshop” the problems. Show the flaws up front rather than waiting for discovery during the auction or after delivery. Digitally retouching the photos to hide flaws on the aircraft is unethical.
Start with wide shots and work closer—details matter. Shoot the condition of the interior and exterior; trim, rubber, glass, dash, seats, etc. Most galleries have more than 50 photos in them, and many have over 100. The more the better!
Photograph the data plates, hours, hobbs, and any stickers or labels. Photograph inside the luggage compartment, and remove everything. Photograph the tools, chocks, extra equipment, and all the spare parts included.
While you do not have to photograph every square inch of the aircraft, the photos should represent every square inch of the aircraft. Buyers want to know everything about your aircraft for sale.
10. Create PDF’s of logbook and other documents front cover to back cover.
We recommend adobe scan. It is free to use up to 25 pages at a time and easy to share files. See a more detailed how-to guide in this post.

